Best Nail Polish For Beginners
For years I’ve gone to the nail salon every 2-3 weeks to get a fresh gel manicure. When COVID took over it was clear to me that I’d be doing this at home in the near future so I set on a journey to find out what is the best nail polish for beginners.
I had a pretty basic nail kit at home, for those winter months when I would do my own toenails, but I had never managed to perfect painting my own fingers. After lots of Instagram ads, I decided to try three different methods.
Below is my honest review of each method, pros & cons, and what I’ll be using going forward.
If you buy something through my links, I may earn a small commission at no additional cost to you. I appreciate your support! See disclosure for details.
Table of Contents
ManiMe
About
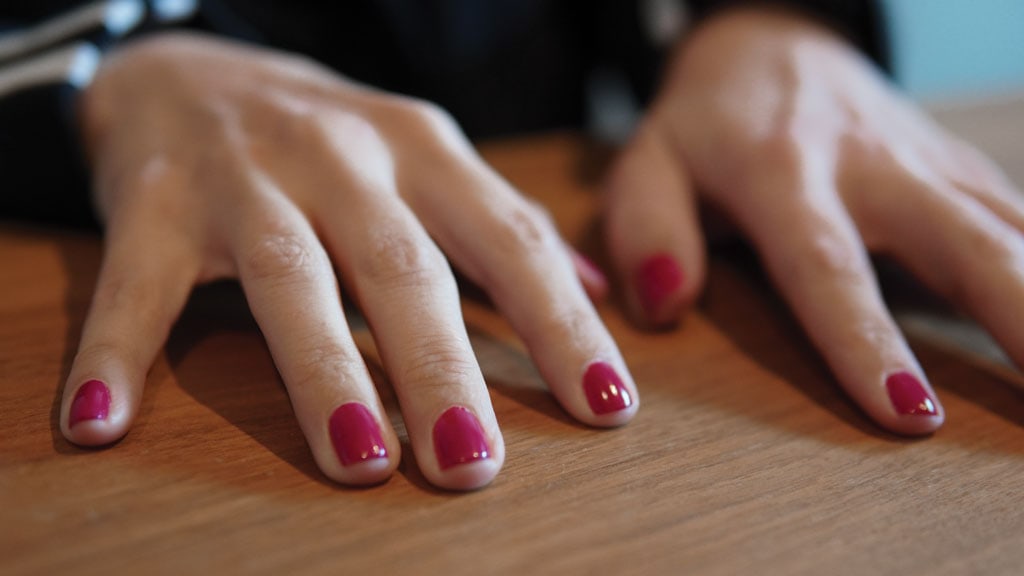
ManiMe nails found me with a targeted IG ad for stick-on gels. They reminded me of the old-school Sally Hansen stickers from back in the day, but I assumed the technology had gotten better so I decided this could be perfect for someone who hasn’t given herself a manicure in years.
The stickers are custom fit for your nail bed, which is key. I remember back in high school trying to get the press-on nails from Target trying to best match the closest plastic piece to my nail bed and it’s nice not to have to go through that again. The way it works is you take a picture of your own nails on your phone and upload it to their site, then the nails they send you fit your exact nail bed shape and size. If for some reason they don’t, you can request an exchange.
Note: I reviewed these in depth a second time, check out the ManiMe post for additional thoughts.

Pro’s
- Easy to apply (no cuticle clean up, don’t need to have steady hands)
- Nail Art available
- Toxin-free
- Zero dry time
Con’s
- Have to prepare in advance and order (no spur of the moment manicures)
- Limited nail colors
- The color was slightly different than appeared online (bought watermelon sugar thinking it would be more berry but was more cherry, looks similar to what scarlet looks like online)
- At $15 for one set of nails, it’s cheaper than a gel manicure but more expensive than a bottle of polish you can use multiple times
FAQ
- How many days did they stay on?
- After 6 days 2 of the nails got a little gummy on the tips
- After a week the tips started to lift up and rollback
- 9th day had to take them off
- How easy were they to get off?
- Very, you just peel them off with water or lotion
- Did they damage nails?
- Not at all
- Would I do it again?
- Yes if I wanted to try some fun nail art or had an important event where I wanted a perfect polish
Tips
- Don’t cut your nails shorter than your finger pads. In order to get the excess polish off, you wrap the stick-on over your nail and then take the file that’s included and file vertically straight down. If your nails are shorter than the finger pad you won’t be able to file straight down and will have to go diagonally. I did this for one finger (tried to clip nail instead of file, recommend filing so you don’t accidentally go too short) and when I filed vertically took the color off the top of the nail
- There is a sort of matte quality to them. It doesn’t bother me but I see there is a top coat polish they offer so if it’s something that bothers you, you may want to purchase that too, although it’s a normal liquid so you’d have to wait for it to dry. This could help with the gel getting gummy too, so maybe worth a try.
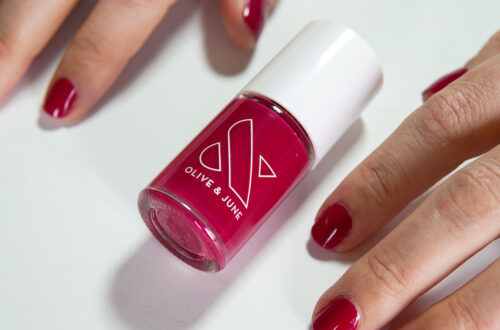
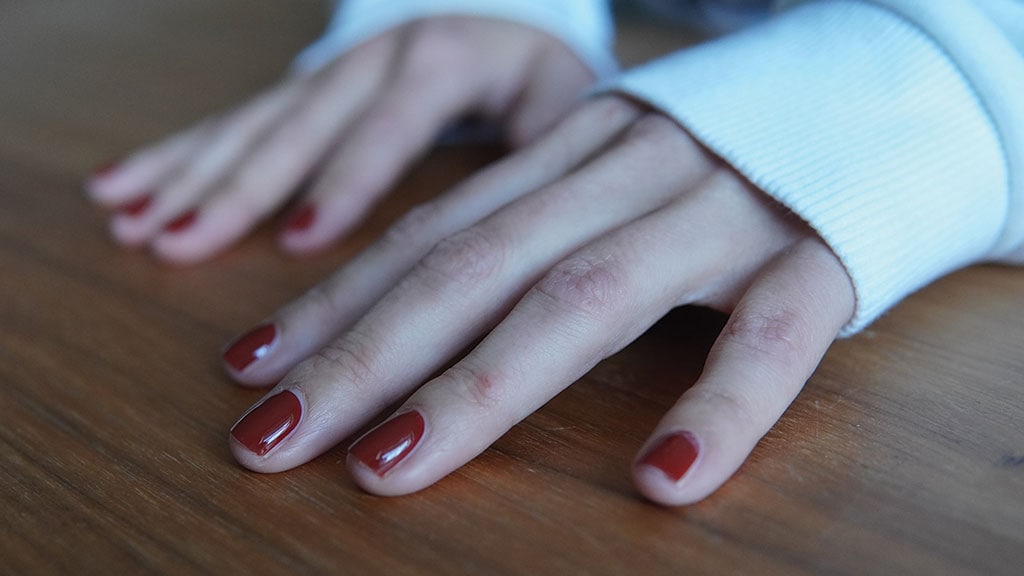
Olive & June Nail Polish
About
Olive & June is what I consider traditional nail polish that we all grew up loving, but better. It’s vegan, cruelty-free, and free from 7 potentially toxic ingredients commonly found in nail polish.
There was a time I couldn’t go on IG without an ad popping up so I finally decided to try it. I didn’t have high hopes, after all, I had spent years with OPI and Essie and my nails always chipped. The reason I really wanted to try it was to see if the free-from would last at least as long as the traditional brands, and I was also intrigued by the Poppy (a unique bottle handle).
They offer a variety of kits. I took the plunge and got the One Color Mani System (and bought an additional color) to get the full Olive & June experience.
Pro’s
- Familiar process
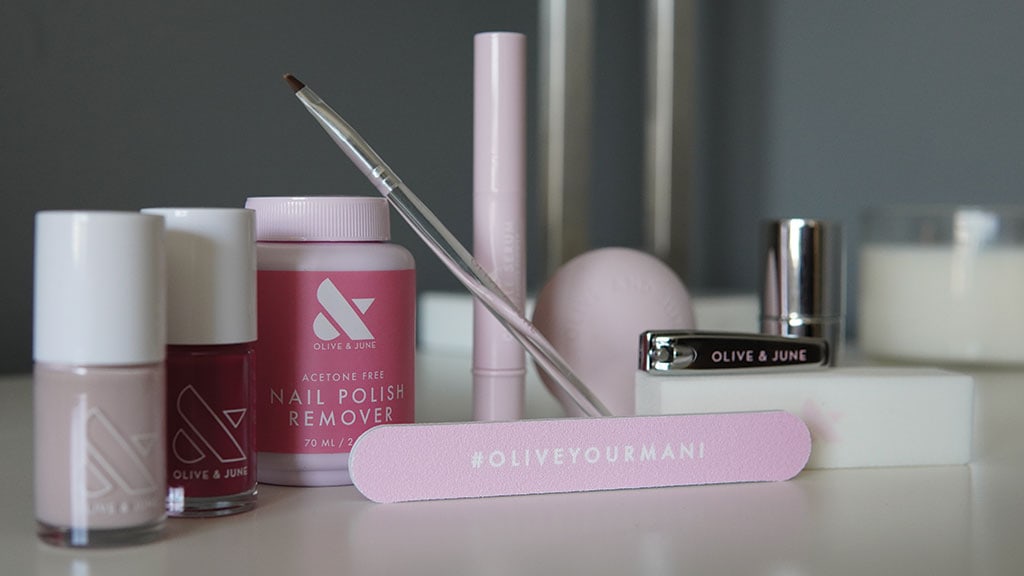
- The Poppy made application much easier giving me more control
- The clean-up brush made cleaning up the cuticles so easy (not sure why I’ve never thought of that before
- Wide variety of colors
- Dried quickly
- At $8 a bottle of polish, similar price to traditional high-quality brands
- Can buy online or from Target
Con’s
- Have to have somewhat of a steady hand to minimize clean up
- Although it dried quickly, still have to wait to dry between coats and topcoat (they now offer drying drops to cut down on this, which may be worth checking out)
- The nail clipper in the kit wasn’t the best quality
FAQ
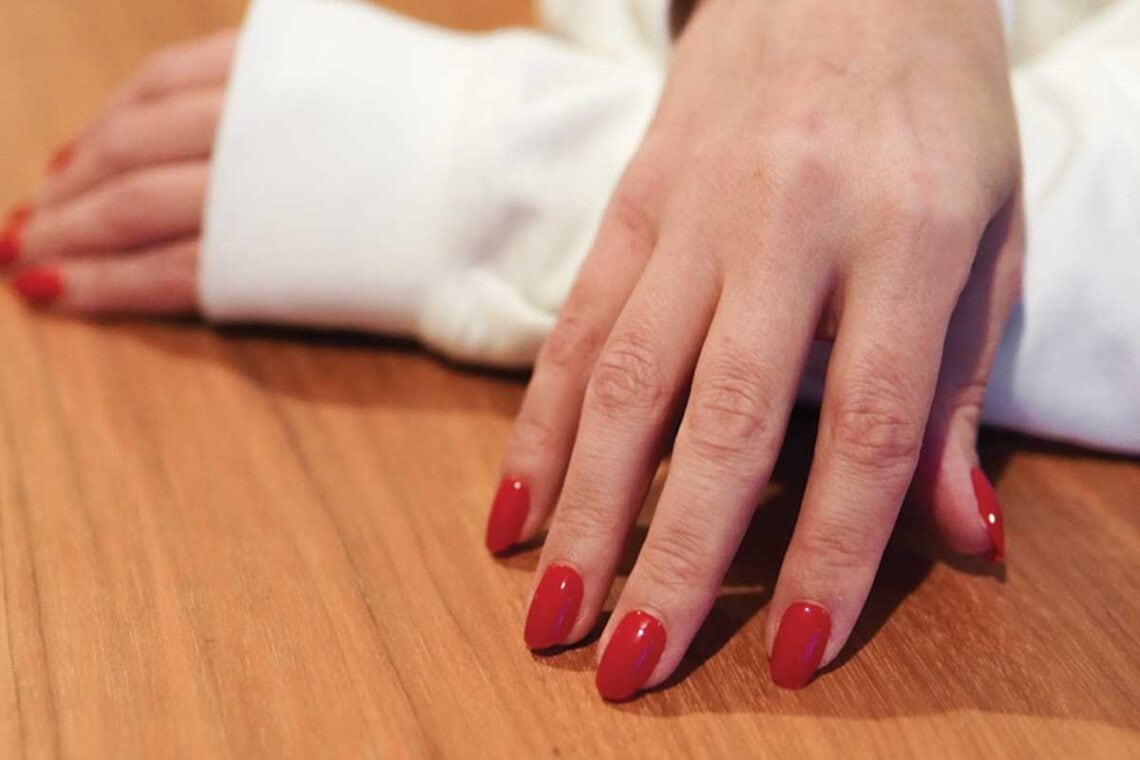
- How many days did it stay on?
- Started chipping after 9 days and by 14 I had to remove
- Full transparency, I didn’t read that they recommend to reapply top coat every two days, so could have lasted even longer potentially
- How easy was it to get off?
- Very, it came off with non-acetone nail polish remover
- Did it damage nails?
- No, felt healthy and didn’t stain which I was worried about without using a base coat
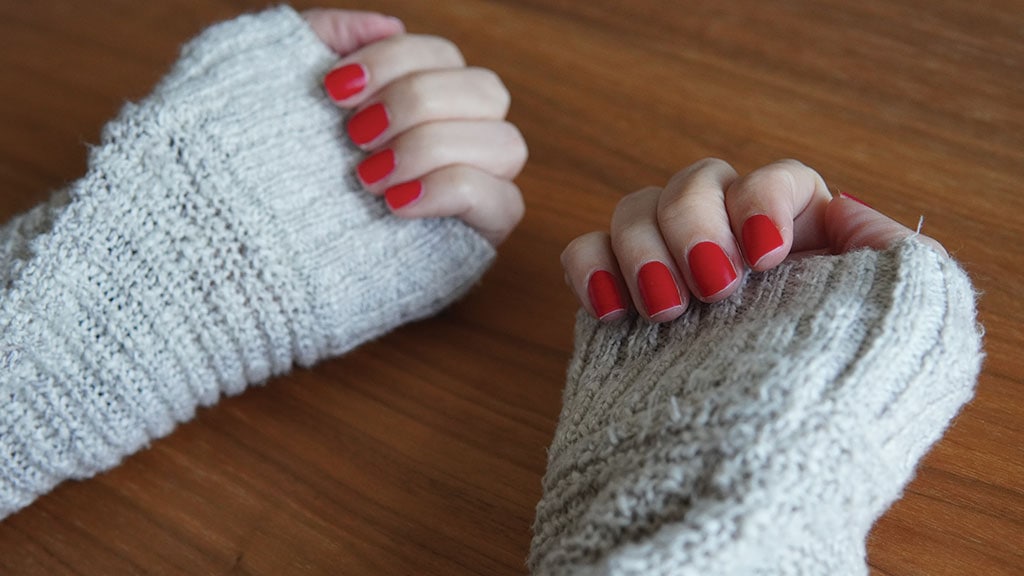
- Would I do again?
- Yes, love that I can have a variety of color, use it on my hands and toes, and don’t have to think ahead about ordering
Tips
- Free shipping starts at $40, so if you buy a kit and you think you might like it then it’s a good idea to order extra polish too (that’s what I did). If you want to place a new order for polish you’d have to buy 5 bottles to qualify for free shipping.
- I got the best results when I used a cuticle exfoliator and pushed my cuticles back before painting.
Olive and June Press On Nails
About
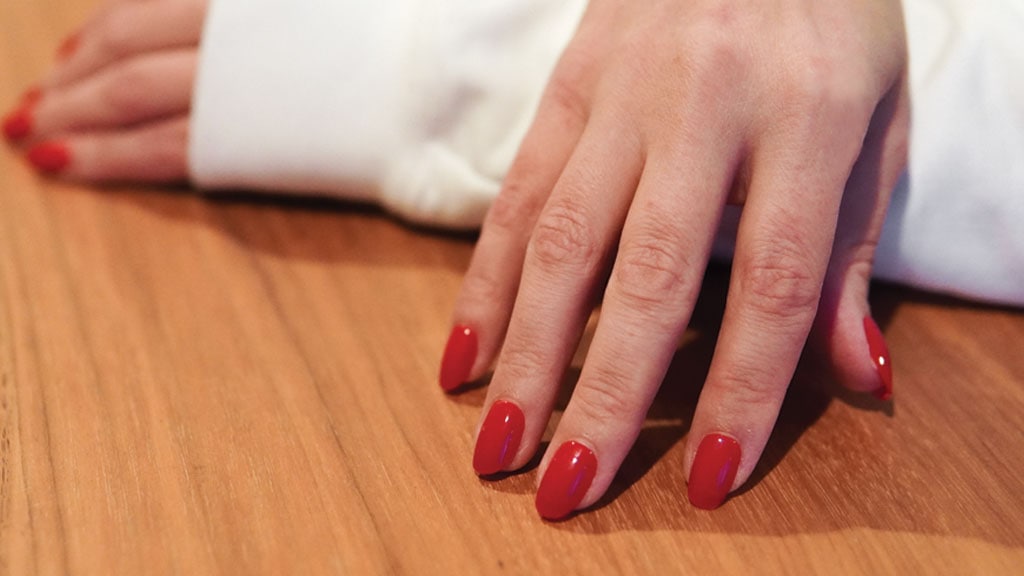
Recently Olive & June launched a new product in addition to traditional nail polish, Press-On Nails. They have coined it an ‘Instant Mani’ since there is no drying time, no smudging, etc. All that is true, but it’s not quite instant, as I’ve learned.
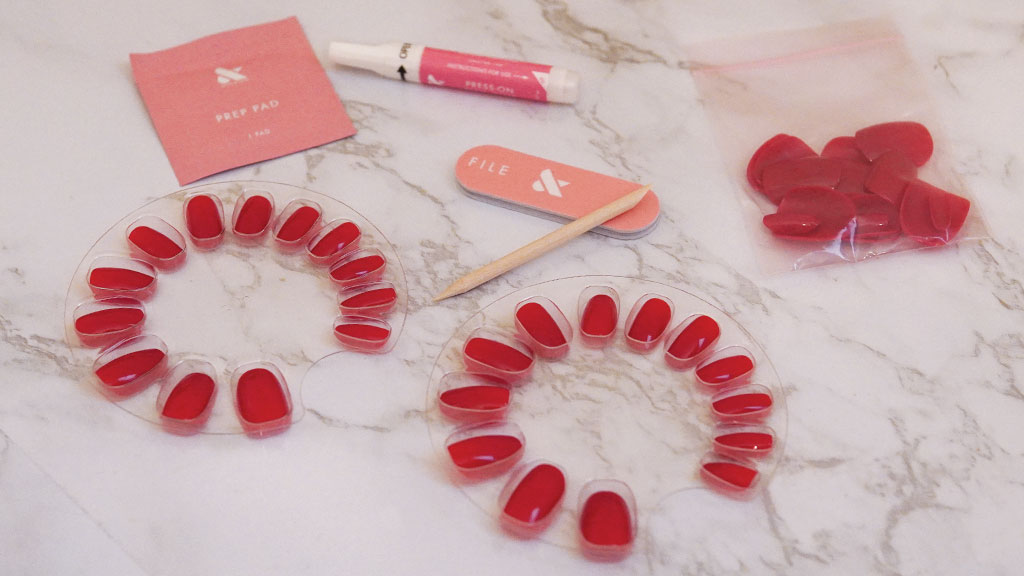
The fake nails come in 21 sizes to support a variety of nail beds, they are non-toxic (just like the polish), are made of upcycled material, and come in 4 lengths and shapes. You can buy just the nails, the Press-On system, or individual components of what you’ll need to apply the nails properly.
What you’ll need for the nail application does come with the nails so it’s up to you if you want to buy the full system, more on that below.
Note: I reviewed these in depth a second time, check out the Olive and June Press On Fake Nails post for additional thoughts.
Pro’s
- No polish drying time
- Long-lasting
- No polish chipping
- Wide variety of colors
- Each nail set is $10 which makes for a very affordable manicure
- Olive & June provides an in-depth video to follow for easy application
- Looks very realistic, no thicker than a dip manicure at a salon
- Can buy online or from Target
Con’s
- Fit is key so need to be patient in finding the exact right nail size and shape
- You may need to cut your own nails prior to application
- It may be a commitment, they are hard to remove if you want them off before they naturally come off
- Does not feel environmentally friendly to throw away (recycle?) the nails not used
- Need to be prepared for a nail to come off at an inconvenient time and to reapply
FAQ
- How many days did it stay on?
- They give different glue application directions for short-term wear and long-term wear and say that long-term wear will last 5-7 days
- For this Olive & June Press On Fake Nail Review, I did the long-term wear application. By day 8 they were still holding strong.
- Full transparency, on day two the last nail I applied, my left thumb, popped off. I was in a hurry during the application and definitely didn’t hold the nail in place for 30 seconds as directed, so I assume this is due to user error. I glued it back on and it didn’t budge until I tried to remove it intentionally.
- How easy was it to get off?
- Difficult removal. Patience is a virtue with the press on nails. As I said, by day 8 they were 100% intact but I was ready to remove them. I soaked in water as they recommend but it did very little to loosen the glue (which is great when you want them on, but not so great when you are trying to remove them).
- The Press On Kit includes the removal system, which at the time of publishing you can’t buy separately. This includes nail caps, sponges, and ‘remover’ (remover is just 100% acetone). Since I didn’t buy the kit and only bought the nails I didn’t get the remover system so I can’t speak to how well this works, but it’s definitely worth a try.
- Did it damage nails?
- Kind of. Where the nails easily came off, towards the cuticles, there is no damage. Where the glue was still very much intact and I pulled the nail off, the top layers of my real nails came off with the press-on. I’m going to chalk this up to impatience.
- The Olive & June Press-On Kit includes a nail strengthener, which you can purchase separately, which they recommend using before application. I didn’t use it, and I would assume you need to let that dry before application, but it may help with proactively reducing damage.
- Would I do again?
- Yes! I bought two sets and once I give my nails a chance to get a little more healthy I’m going to try my second set. They look great and I received many compliments from people who couldn’t tell they weren’t my real nails.
Tips
- Prepping your real nails and finding the exact right press on for your nails is key to the manicure lasting a long time and looking real. So although once they are on there is no drying time, the time spent is upfront. The video is great, I recommend watching it fully through once, and then again as you are applying the nails.
- The first application will take the longest as you figure out which nails fit you the best. Luckily they are all numbered so make a note of it (I just use my note app on my phone) and the next time grab those nails and double-check they are still the best fit.
- There is no mention of it, but there is a little tab at the end of some nails, I speculate it has something to do with how they are manufactured. Just take the file and file that smooth.
- Depending on the shape of the press-on, and the shape of your real nail, you may need to cut your own nails. My nail bed is squoval and I bought round nails. Since they taper in I had to trim my real nails very short in order for my real nails not to peek through the press-on. I was OK with that since I like to keep my natural nails short, but some may not be.
- Even ‘short’ nails are relatively long, so it will take some getting used to doing things with them. Instead of doing things with the tips of your fingers, try using the side (like to put on earring backs or open a soda). Also, pay extra attention to typos (especially at work)!
- Be careful with the nail glue. If you get it on your finger, remove it before you touch a nail again. I made the mistake of having glue on my finger and then holding a nail down in place for 30 seconds. When I removed my finger the glue had made a noticeable matte spot on the nail.
Ohora Nails
About
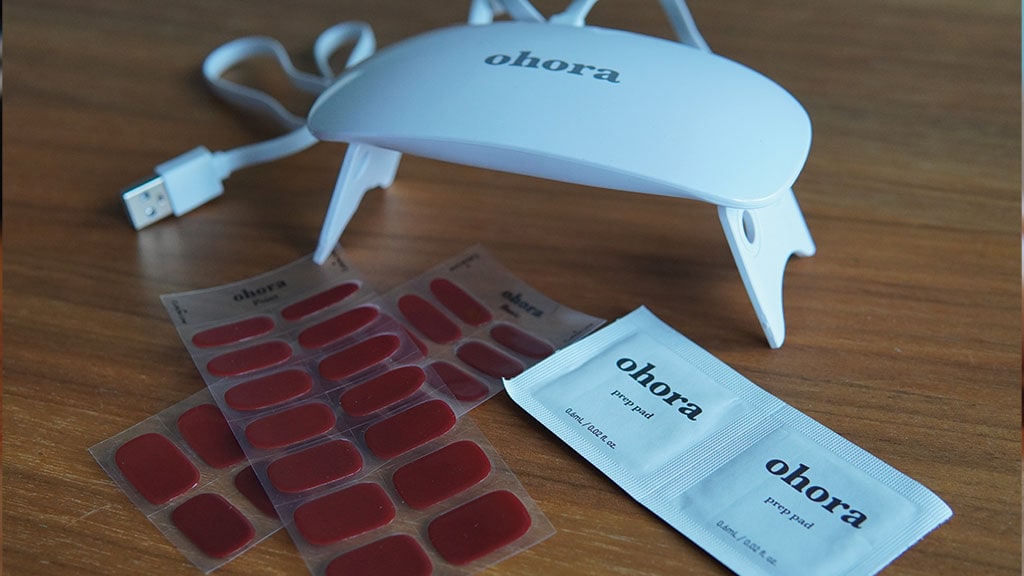
I heard about Ohora nail stickers from my hairstylist, who always has the best manicure and nail art. She didn’t have them on her fingers but she did have them on her toes and they looked so good, just like a gel pedicure.
Ohora is a Korean beauty company and Vanity Table is the licensed distributor in the U.S. They offer semi-cured stick-on gels, which unfortunately are not custom fit. Once you stick Ohora nails on your real nails you finish the curing process with a UV nail lamp. Think of these like gel nail strips. You put the strip on and then cure it with the UV light like they do at a nail salon. At the time I placed my order there was a promo code to get the UV light for nails free. Otherwise, the UV light is around $18.
Note: I reviewed these in depth a second time, check out the Ohora post for additional thoughts.
Pro’s
- Ohora nails are the closest thing to a gel manicure that I’ve tried at home
- High gloss
- Easy to apply
Con’s
- Doesn’t give information regarding ingredients
- Limited solid colors
- Hair got stuck under the bed of the nail and continuously snagged
FAQ
- How many days did they stay on?
- 4, but I had to take them off because the snagging kept pulling my hair out, and regardless if it’s my real hair or extensions, that can’t be happening.
- How easy were they to get off?
- Pretty easy, dipped the included orange stick in nail polish remover and they came up
- Did they damage nails?
- No
- Would I do it again?
- No, they take a decent amount of time to choose the right nail and then shape it and then cure it for them to not even last a week
Tips
- Spend extra time making sure the beds are flat with your nail to (try) to prevent hair from getting underneath
- They offer a new top gel, but I’m not entirely sure if you paint it on after you cure your nails. It wasn’t offered when I purchased so I haven’t tried it, but it might help.
Final Thoughts: Best Nail Polish for Beginners
I was shockingly surprised that my Olive & June nail polish manicure lasted over a week with me typing on a laptop every day. With the quick drying time, variety of colors, and lack of planning necessary, this is my go-to manicure.
For special occasions, I will be going with the Olive & June press on nails. They look the best, don’t snag my hair (like Ohora), are long-lasting, easy to apply, and affordable.
Love this post? Check out these other beauty reviews:
- Saie Beauty: An Honest Review of the Clean Beauty Brand
- Do SiO Patches Really Work?
- Lola’s Magnetic Eyelashes and Eyeliner Review
DISCLOSURE: If you buy something through my links, I may earn an affiliate commission, at no cost to you. I only feature products I would use myself, and all opinions expressed here are my own. I am very obsessed with FTC compliance so check out my full disclosure for details.


You May Also Like
An Honest Lume Body Wash Review – Acidified and Unscented

Ohora Nails Review: Are they Worth It?